You have something on your iPhone or iPad that needs to be seen on a bigger screen. Maybe it's a set of slides for a client meeting, a short video clip for a team check-in, or just vacation photos you want to show family without everyone squinting at your phone. Whatever it is, the last thing you want is to waste 15 minutes figuring out how to make it appear on your TV.
Screen mirroring should be quick, wireless, and frustration-free. But often, it’s not.
The good news? It can be. You just need to know the right method for your setup—and what pitfalls to avoid.
Why Screen Mirroring Still Trips People Up
Apple’s ecosystem is built for smooth integration, but screen sharing gets complicated the moment your TV isn’t made by Apple. AirPlay is great—if your TV supports it. But if you’re using a Roku, Fire TV, Chromecast, or a DLNA-compatible screen, things aren’t always so seamless.
Even users with AirPlay-compatible devices report connection drops, lag, or outright failure to mirror. And not all apps support native casting, especially for live or dynamic content like Reels, mobile games, or presentations.
That’s why it helps to understand how screen mirroring actually works, and what method best fits your device and display.
Mirroring vs. Casting: Two Different Solutions
These terms are often used interchangeably, but they’re not the same:
- Screen mirroring: Everything you do on your iPhone or iPad shows up live on your TV. That includes apps, camera, video calls, slideshows, and even swiping around your home screen.
- Casting: You select specific media (like a video or song), and the content plays directly on the TV through an app like YouTube or Netflix.
Mirroring is ideal when you want full control of what’s seen on the big screen. You’re not just sharing a video—you’re sharing your screen, in real time.
But to get it working reliably, especially across non-Apple devices, you’ll likely need something beyond AirPlay.
What Devices Work with iPhone Screen Mirroring?
Here’s what you need to know before you start:
- Apple TV / AirPlay 2-enabled TVs: These work best with native iOS mirroring. If your TV is a recent Samsung, LG, or Sony model, it may support AirPlay right out of the box.
- Chromecast / Google TV: Not compatible with AirPlay directly, but supports casting and mirroring via third-party apps.
- Amazon Fire TV / Roku: These platforms don’t support AirPlay by default, but again—third-party apps bridge the gap.
- DLNA-enabled Smart TVs: Older models may support media casting but not full screen mirroring.
So if your TV isn’t running Apple’s tech natively, the solution is simple: use a cross-platform screen mirroring app that’s built to handle these protocols.
The Easiest Way: Use a Dedicated Mirroring App
Instead of juggling cables or troubleshooting compatibility issues, many iOS users now turn to lightweight, app-based solutions. These tools connect your iPhone or iPad to a range of TVs and streaming devices—wirelessly and without needing any extra hardware.
The key is choosing one that doesn’t slow down or crash mid-stream.
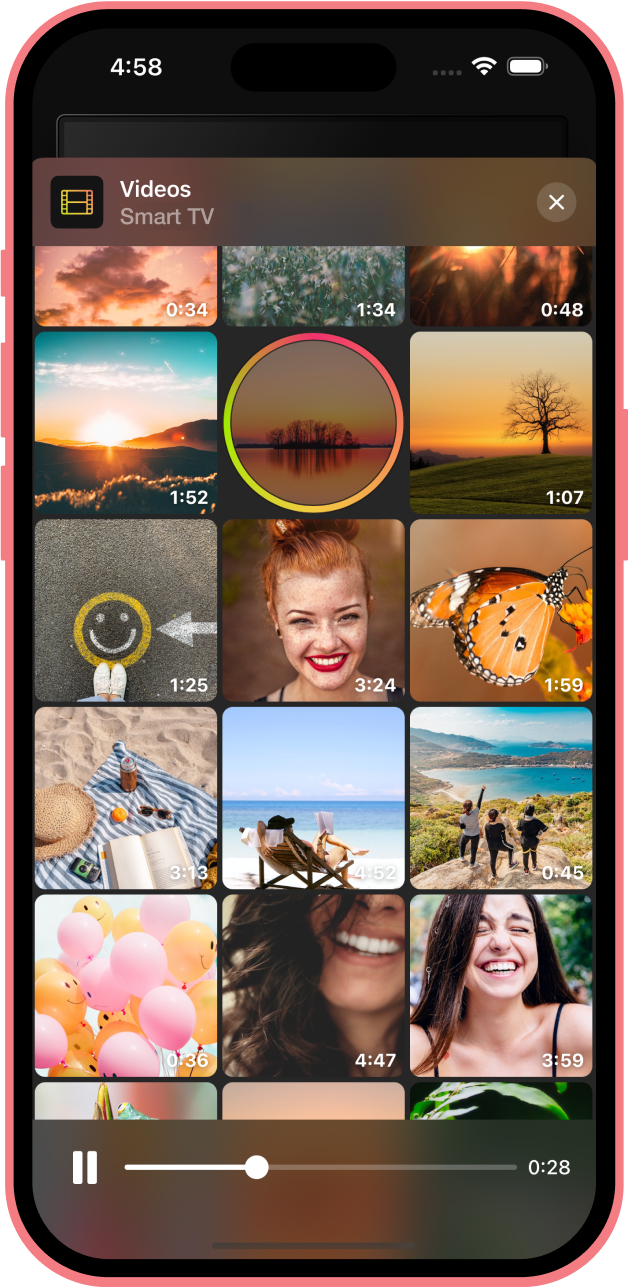
One solid option that’s gained traction is the DoCast screen mirroring tool. It works across platforms like Fire TV, Chromecast, Roku, and DLNA TVs—allowing you to mirror your full screen or just cast specific media. You can stream photos, videos, music, or use full live mirroring with minimal setup.
It’s particularly useful if you frequently switch between different display setups—say, from a meeting room to a living room. No cables. No pairing drama. Just tap and go.
How to Mirror iPhone or iPad to Any TV in 5 Simple Steps
Here’s a basic, no-fluff guide:
-
Connect both devices to the same Wi-Fi network
Your iPhone and your TV or streaming stick must be on the same network, or they won’t detect each other.
-
Install a compatible screen mirroring app
Choose one designed to work with your specific TV brand or platform. Make sure it supports full screen mirroring (not just casting).
-
Open the app and select your TV
It should auto-detect nearby devices. If not, double-check your Wi-Fi settings or reboot your router.
-
Grant permission when prompted
iOS will likely ask you to enable screen recording or local network access. These are needed for full mirroring to function.
-
Start mirroring
Once connected, your entire screen should appear on the TV in real time. You can now launch apps, swipe through images, or show content to others with zero fuss.
Troubleshooting: What to Do If It Doesn’t Work
Even with the right setup, things can go sideways. Here’s how to fix common issues:
- Device not found: Restart both your phone and the TV. Make sure you're connected to the same Wi-Fi network.
- Lag or stuttering: Try lowering the streaming quality in your app’s settings. Also, reduce network load by pausing downloads or background tasks.
- No sound: Not all apps support audio mirroring by default. Check if your tool offers a sound toggle or requires a separate step for audio.
- Connection drops: Update your app, restart your router, or move closer to your Wi-Fi source. Interference is a common culprit.
Final Thoughts: Screen Mirroring Shouldn’t Feel Like a Chore
You shouldn’t have to search forums or plug in a drawer full of adapters just to share your iPhone screen with your TV. Once you’ve set it up the right way—ideally with a mirroring tool that’s made for flexibility—you’ll be able to launch content in seconds, not minutes.
Whether you’re presenting, relaxing, or just showing your latest Reel in full screen, screen mirroring should feel like second nature.
And with the right setup, it will.
Join now or log in to leave a comment